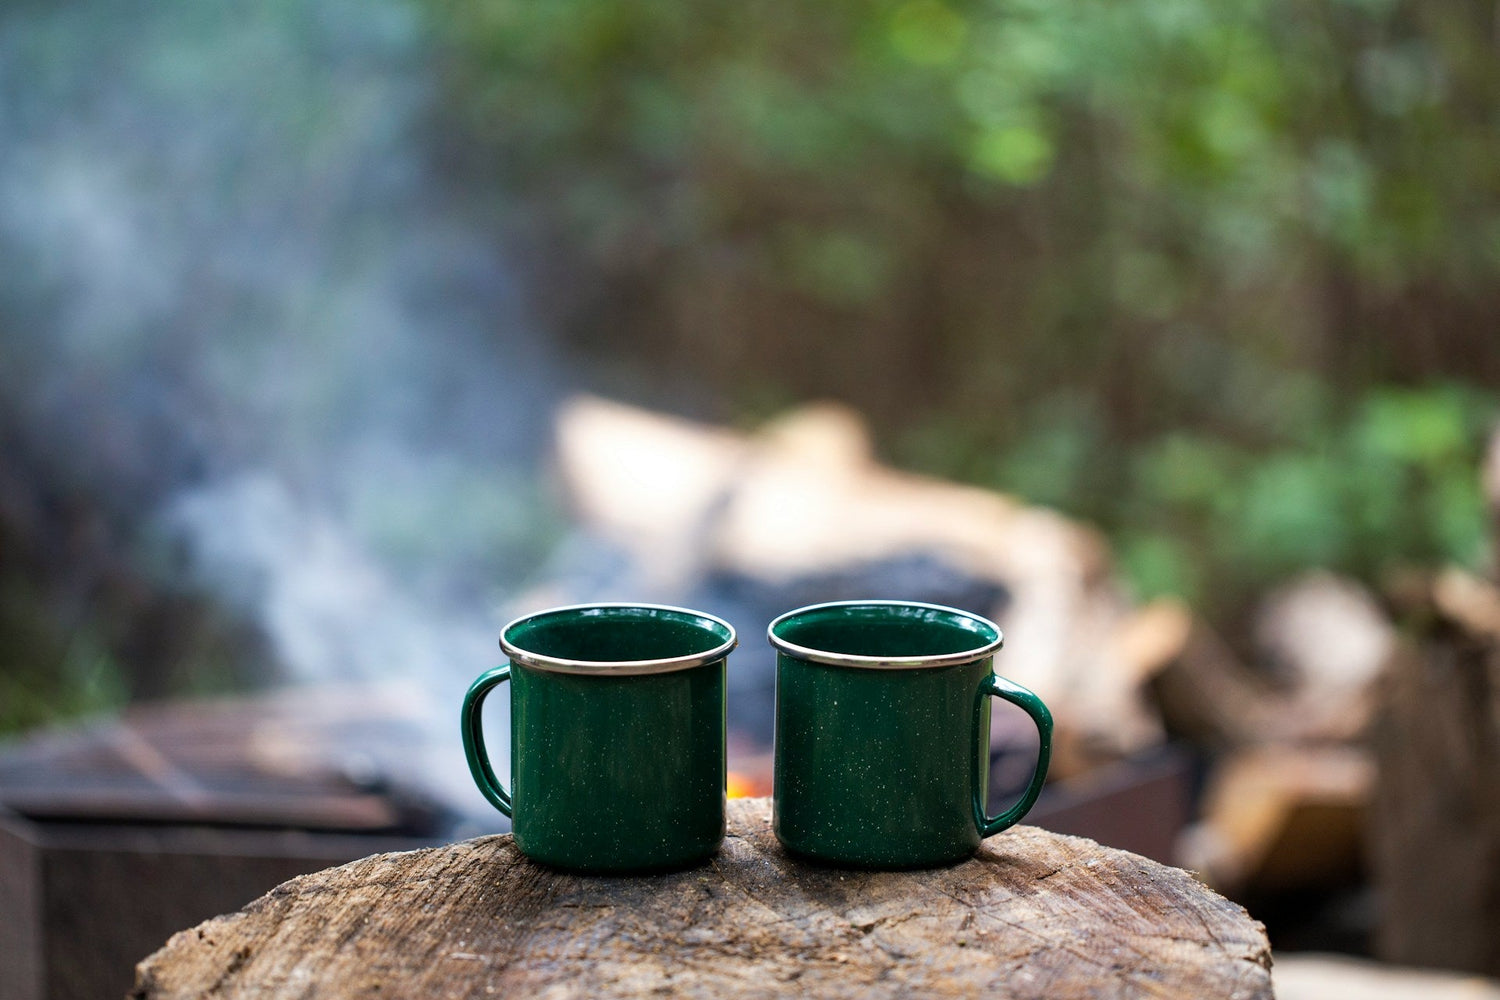
Nothing compares to the joy of sipping a freshly brewed cup of coffee while surrounded by nature. Whether you're a seasoned camper or just trying camping for the first time, knowing how to make coffee while camping can improve your outdoor experience.
In this article, we'll walk you through the best methods, essential equipment, and expert tips for brewing the perfect cup of coffee on your next camping trip!
Why Coffee is Essential for Your Camping Adventure
Coffee isn't just a beverage; it's a vital part of the camping experience. It warms you up on chilly mornings, gives you the energy to tackle your outdoor activities, and provides a comforting ritual that feels like home, even in the wild. Plus, there's something magical about brewing coffee in the fresh, open air that makes it taste even better.
Essential Equipment for Brewing Coffee While Camping
Before we dive into the brewing methods, let's talk about the essential equipment you'll need for making coffee on the go.
- Portable Coffee Maker: Options include a Cafetiere, AeroPress, pour-over setup, or a Moka pot.
- Coffee Grinder: A manual grinder is perfect for camping as it doesn’t require electricity.
- Kettle or Pot: A lightweight, camping-friendly kettle or pot for boiling water.
- Coffee Beans: Freshly roasted, high-quality beans from Nordfell Coffee for the best flavour.
- Measuring Scoop: For a precise coffee-to-water ratio.
- Reusable Coffee Filter: If your method requires it.
Step-by-Step Guide to Brewing Coffee While Camping
We'll cover four popular methods: Cafetiere, AeroPress, pour-over, and Moka pot.
Method 1: Cafetiere
- Boil Water: Heat water over your campfire or camping stove until it reaches a rolling boil.
- Prepare the Coffee: Grind your Nordfell Coffee beans to a coarse consistency. Use about 1 tablespoon of coffee per 120ml of water.
- Add Coffee Grounds: Place the coffee grounds into the Cafetiere.
- Add Hot Water: Pour the boiling water over the grounds, ensuring all are saturated. Stir gently.
- Brew: Place the lid on the cafetiere and let the coffee steep for approximately 4 minutes. You can adjust this timing to your own taste.
- Press and Serve: Slowly press the plunger down and pour your freshly brewed coffee into your mug. Enjoy!
Method 2: AeroPress
- Boil Water: Heat your water as described above.
- Prepare the Coffee: Grind your coffee beans to a medium-fine consistency. Use about 1 scoop (provided with AeroPress) per 200ml of water.
- Set Up AeroPress: Place a filter in the AeroPress cap and rinse it with hot water. Assemble the AeroPress over your mug.
- Add Coffee Grounds: Add the ground coffee to the AeroPress.
- Add Hot Water: Pour hot water over the grounds up to the marked line.
- Stir and Brew: Stir the mixture, place the plunger on top, and let it steep for about 1 minute.
- Press and Serve: Slowly press the plunger down to extract the coffee into your mug.
Method 3: Pour-Over
- Boil Water: Bring your water to a boil.
- Prepare the Coffee: Grind your coffee beans to a medium-coarse consistency. Use about 2 tablespoons of coffee per 175ml of water.
- Set Up Pour-Over: Place a filter in your pour-over dripper and rinse with hot water. Set the dripper over your mug.
- Add Coffee Grounds: Add the coffee grounds to the filter.
- Add Hot Water: Pour a small amount of hot water over the grounds to bloom the coffee (let it sit for 30 seconds).
- Pour Water: Slowly pour the rest of the hot water in a circular motion, allowing it to drip through the grounds.
- Serve: Once the water has filtered through, your coffee is ready to enjoy!
Method 4: Moka Pot
- Prepare the Moka Pot: Fill the bottom chamber of the Moka pot with water up to the safety valve.
- Grind the Coffee: Grind your coffee beans to a fine consistency. Use enough coffee to fill the filter basket, this is typically about 2 tablespoons.
- Add Coffee Grounds: Fill the filter basket with the ground coffee, levelling it off without packing it down.
- Assemble the Moka Pot: Place the filter basket into the bottom chamber and screw the top chamber on securely.
- Heat the Moka Pot: Place the Moka pot on your camping stove over medium heat. As the water heats, it will create pressure that forces the water up through the coffee grounds and into the top chamber.
- Monitor and Serve: Once you hear a hissing sound and see coffee flowing into the top chamber, remove the Moka pot from the heat. Pour your coffee into a mug and enjoy the rich, robust flavour.
Expert Camping Coffee Tips
- Pre-grind Your Coffee: If you want to save time and avoid carrying a grinder, pre-grind your coffee beans before your trip and store them in an airtight container.
- Insulated Mugs: Use insulated mugs to keep your coffee hot for longer.
- Clean Water: Always use clean, filtered water for the best taste.
- Experiment: Try different brewing methods and coffee-to-water ratios to find your perfect cup.
Why Choose Nordfell Coffee for Your Camping Trips?
At Nordfell Coffee, we pride ourselves on providing the finest quality, ethically sourced coffee. Our beans are carefully selected and roasted to perfection, ensuring you have the best coffee experience, even in the great outdoors. Whether you're purchasing a one-off bag or subscribing to our regular deliveries, you can trust Nordfell Coffee to fuel your adventures with exceptional flavour.
By following these tips and using high-quality beans from Nordfell Coffee, you can enjoy the perfect cup of coffee on every camping trip. Happy brewing and happy camping!


